Sew a Softie Day

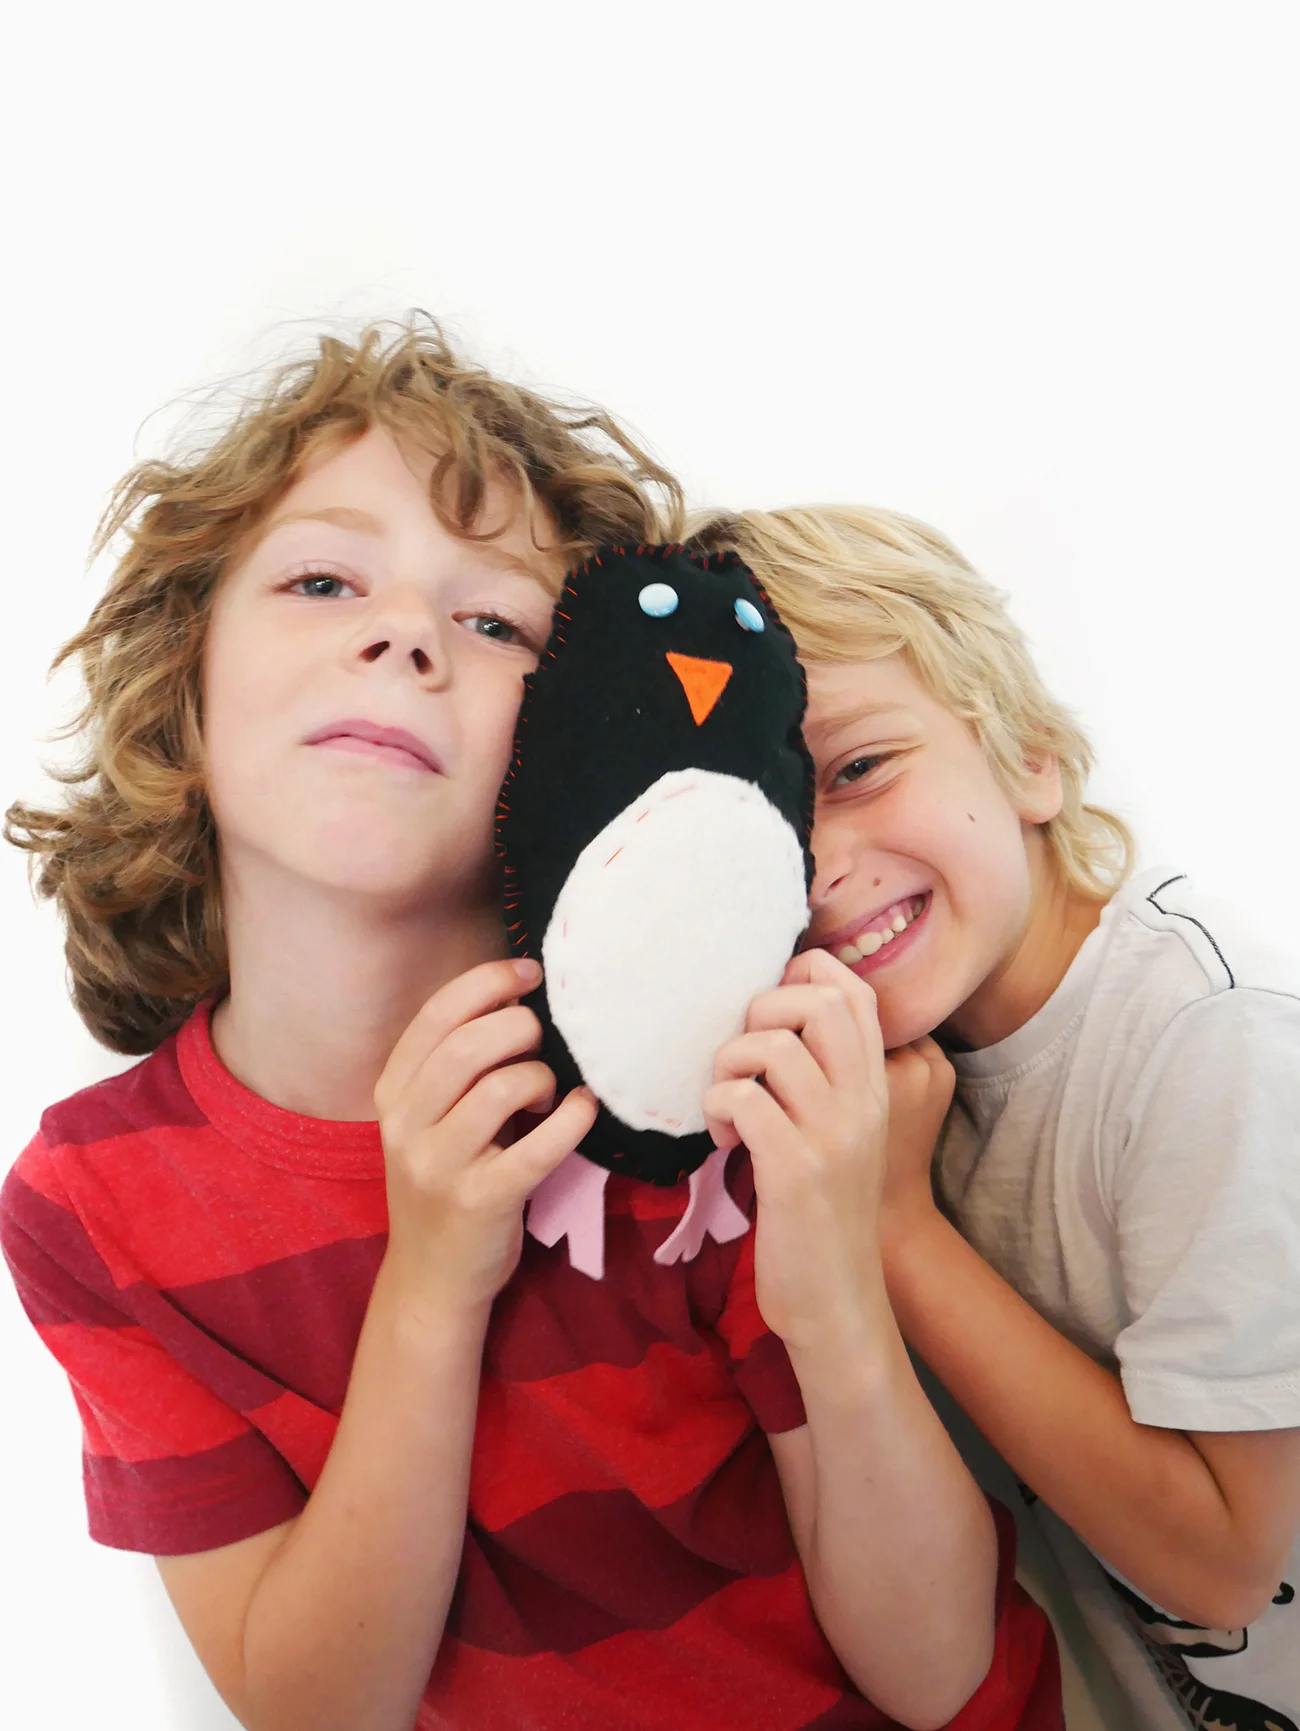
Finley and I hosted a Sew A Softie party at our house today! Founded by UPPERCASE reader Trixi Symonds, the yearly event encourages passing on the love of hand sewing to the next generation.

Trixi writes, "It encourages parents and children to turn off their computers, put down their smart phones and discover the fun and fulfillment that comes from creating a simple-to-sew softie together. This year Sew a Softie will take place from July 1st to 31st."

I've been teaching Finley to sew for a while and he was proud to be a Kid Ambassador for the event. We invited a few friends and parents over and had some fun making creatures (with a break for cookies and muffins, of course.)

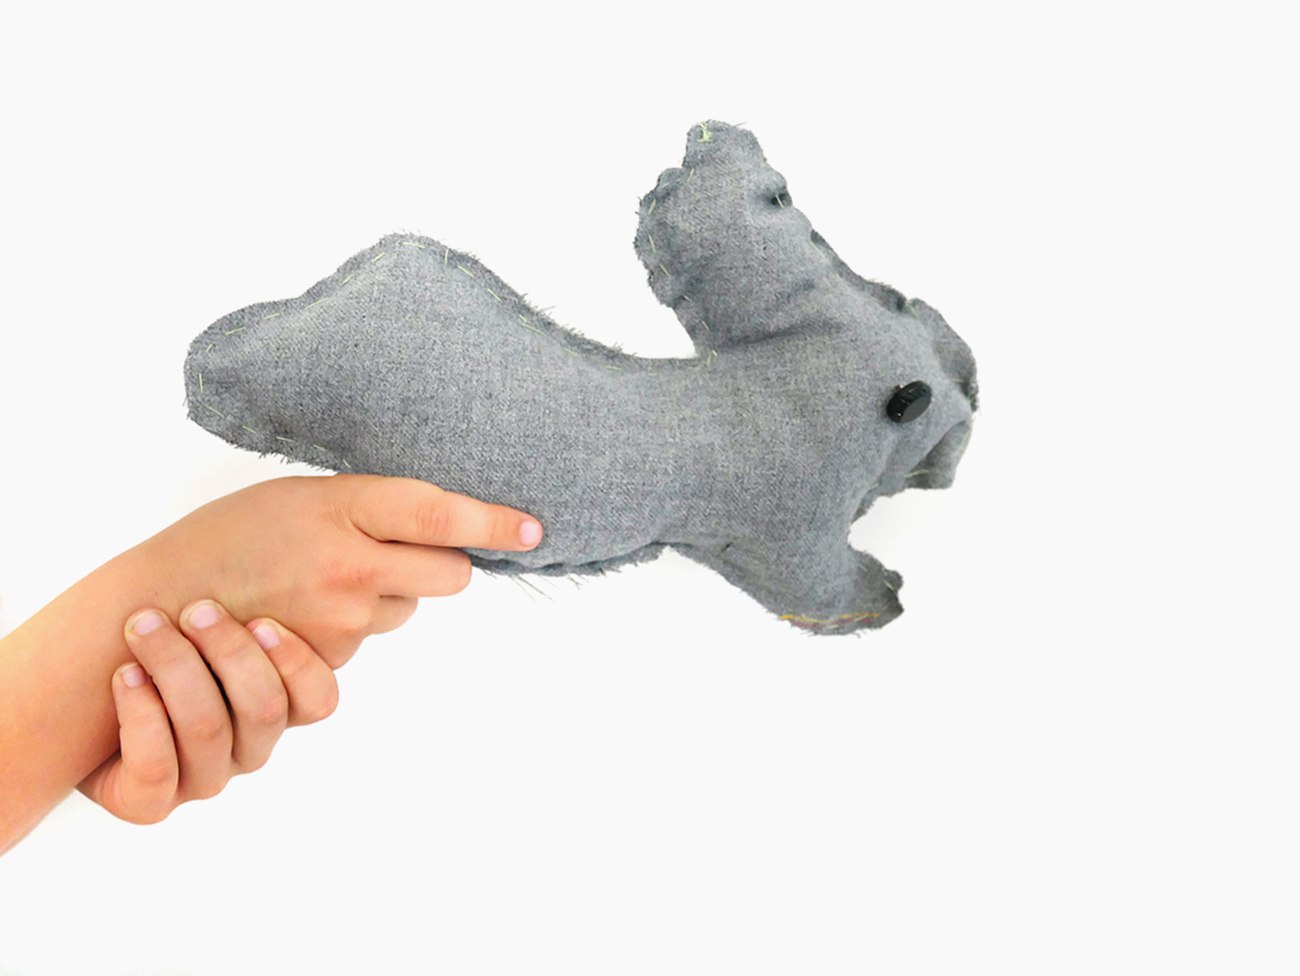
Rather than have a set project that we were going to make—and set up expectations of what something is "supposed" to look like—I simply offered the framework for what were going to do.

1. Draw the body shape of your creature on an 8.5" x 11" sheet of paper (this way, it won't be too large and take too long to sew).

2. Cut out your paper pattern and trace around it on two pieces of fabric. Or have a parent cut around the pattern. We used fleece, felt and various remnants.

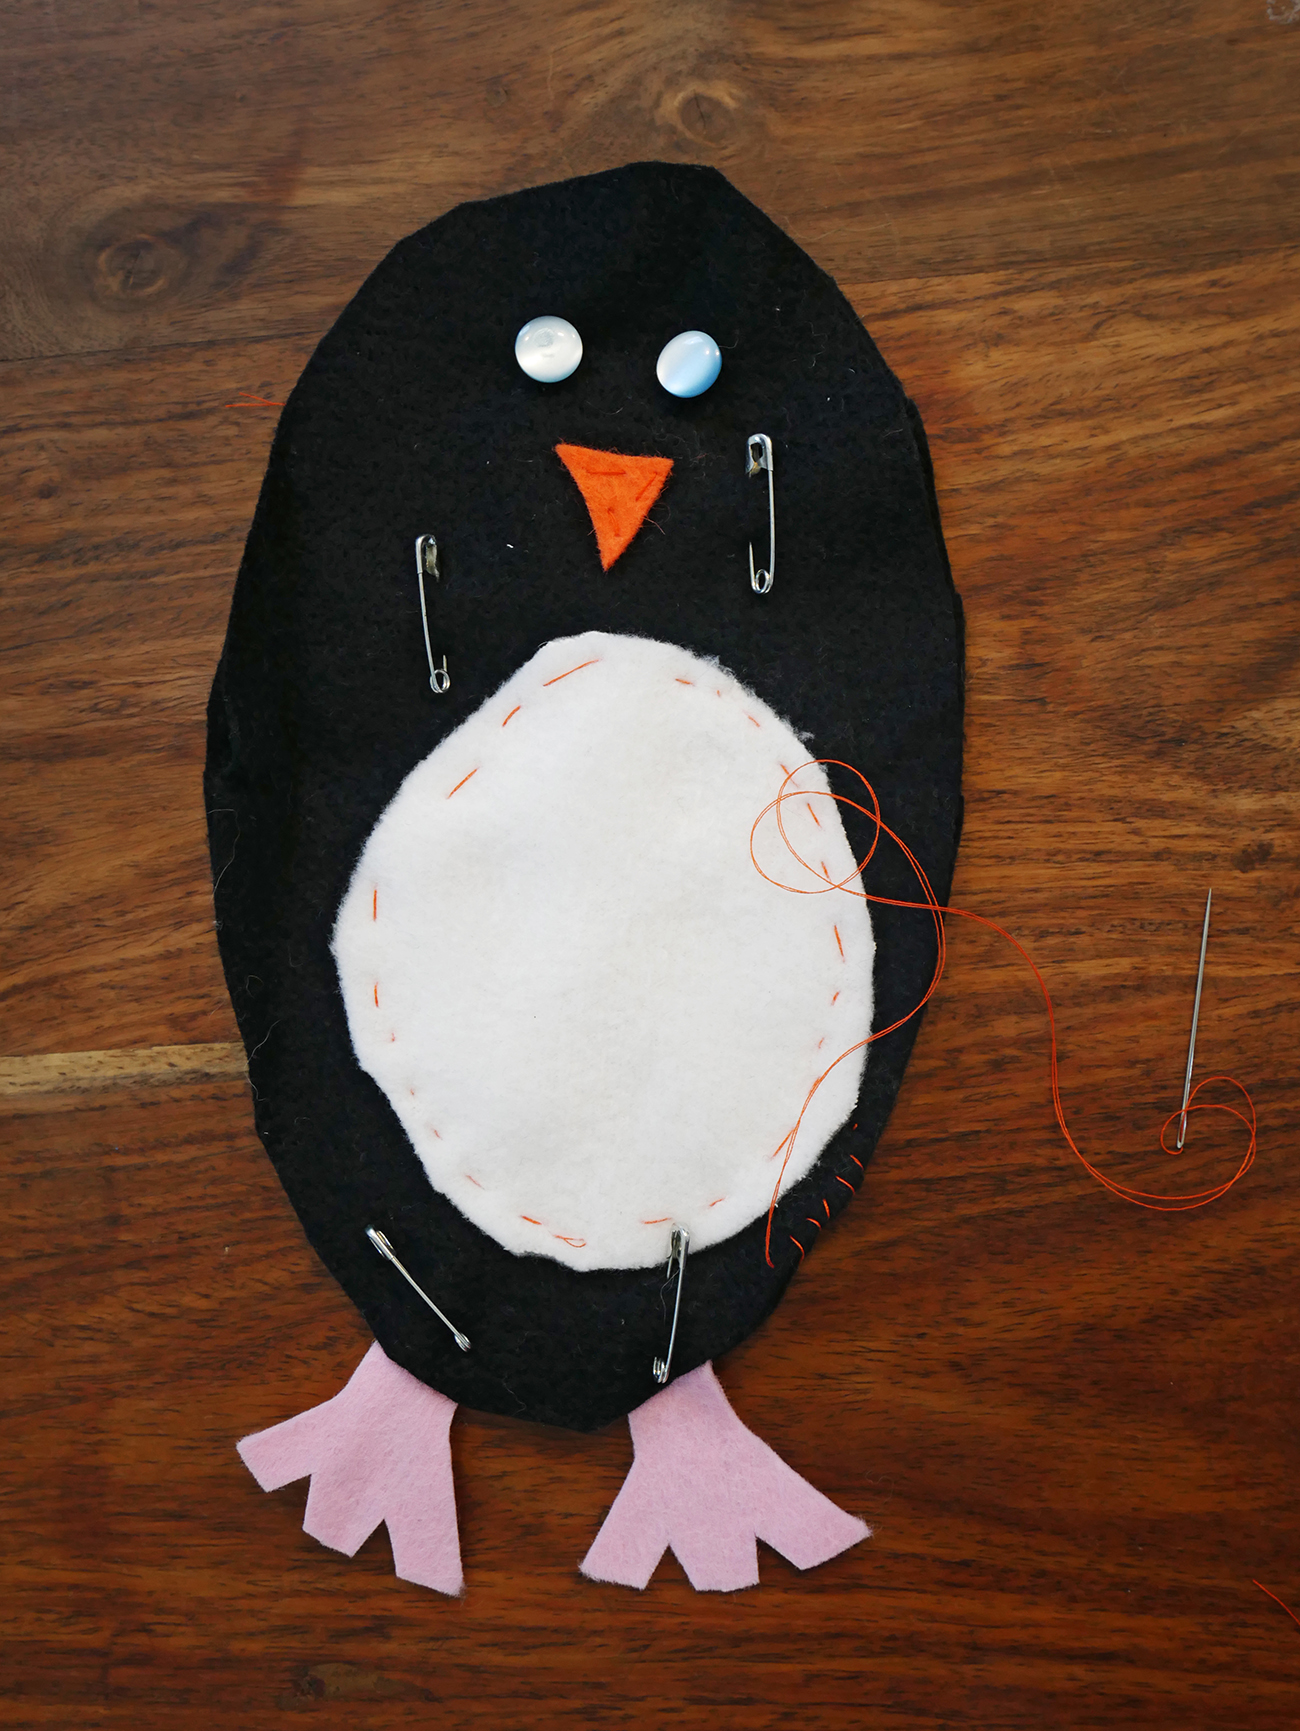
3. Cut out eyes, ears, feet, beaks, wings or any other embellishments out of felt. Use a simple running stitch to attach the features to the front fabric piece. Attach any button eyes at this point. We used contrasting thread so that it was easy to see what we were stitching.

4. Put front and back together and stitch around the perimeter, leaving 2-3 inches open so that you can stuff the softie. A running stitch is easiest. Finley used a whip stitch, which was a new technique for him to learn today. Sandwich any feet or wings between the front and back layers and sew them in when you're going around the edge. We used safety pins to hold things together in the meantime.

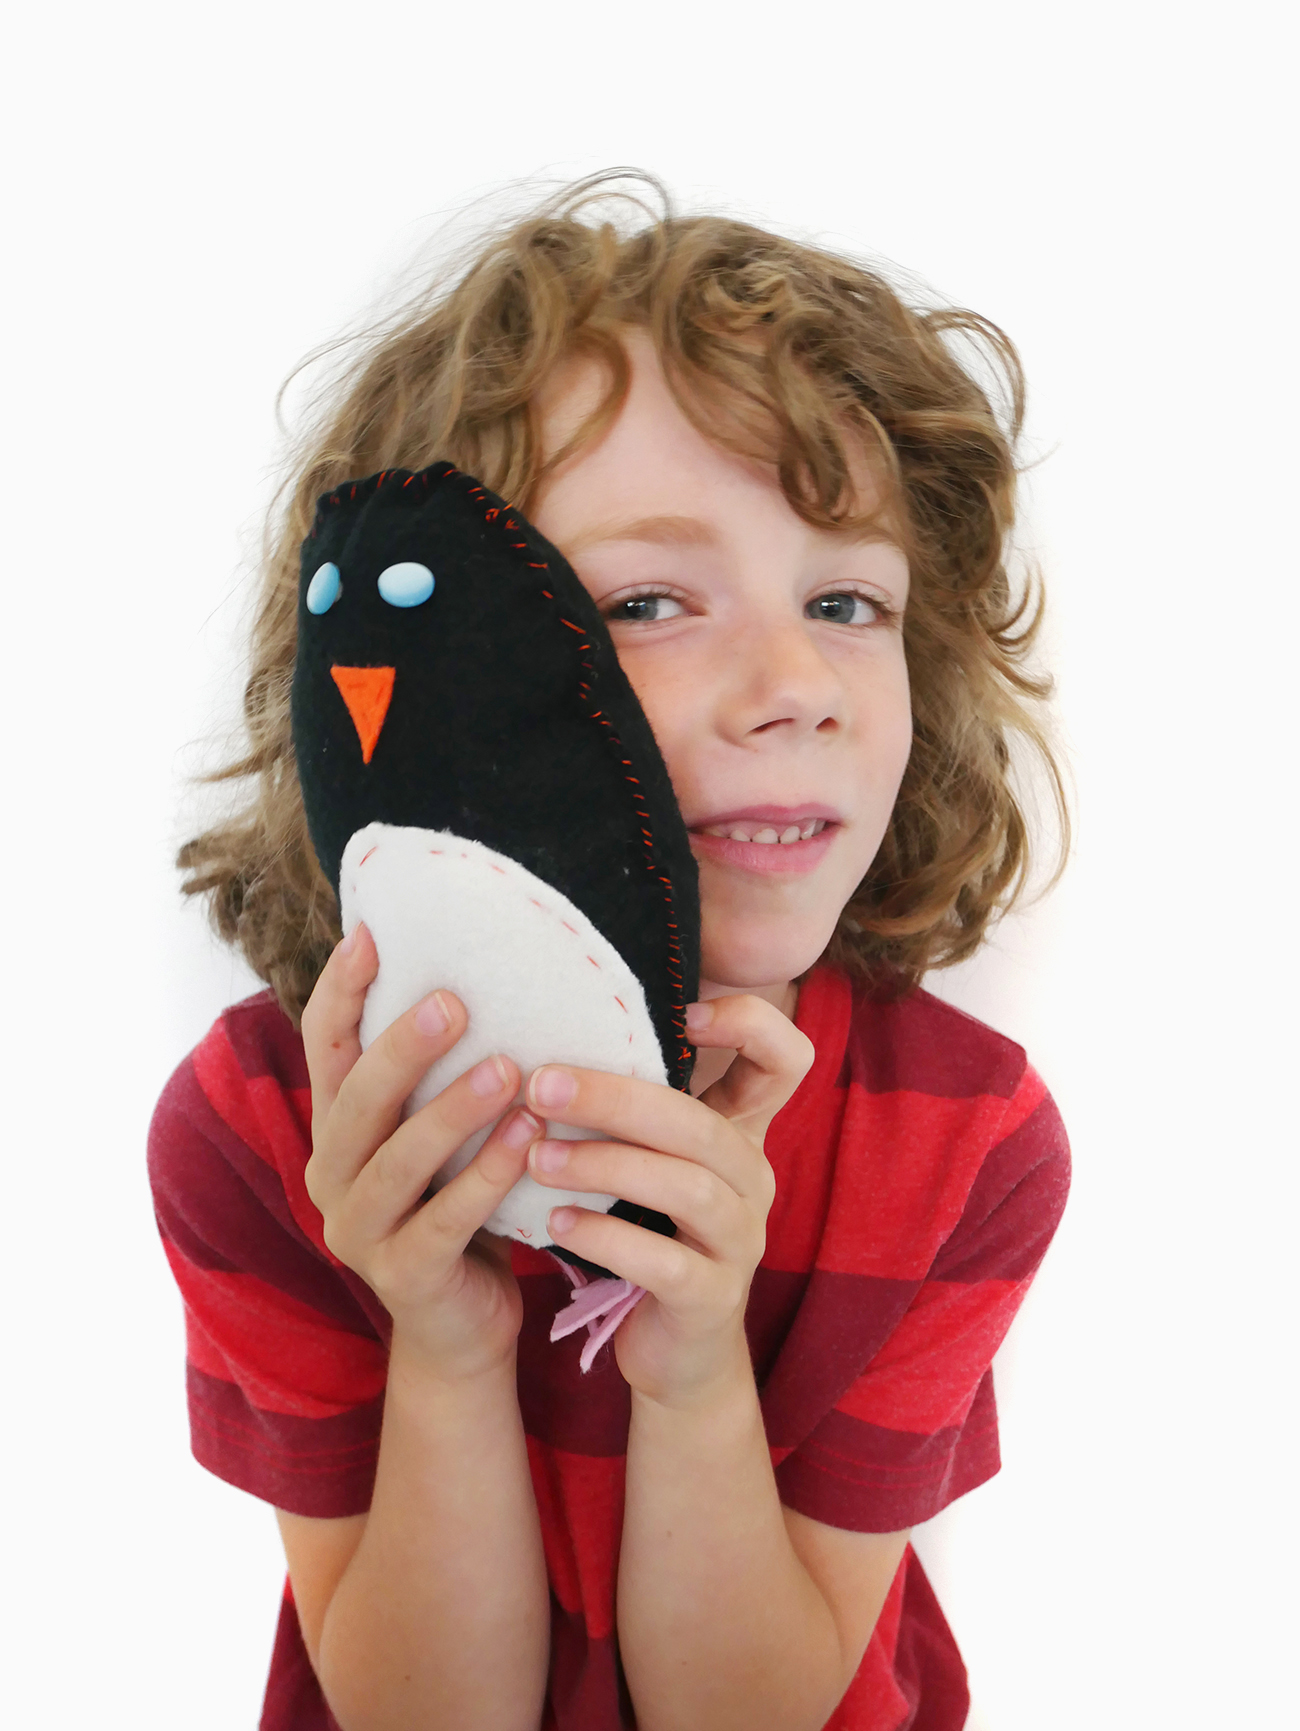
5. Stuff your creature and then finish by stitching the opening closed. Done!

Our friends were ages 5 through 7, and although some attention spans started to wander we were able to finish our softies in about two hours.

To find out more about Sew A Softie, visit Trixi's website and join the Facebook group!

Make Something Monday

Feedsack quilt block by reader Lisa Courtnage

Happy Monday and Happy December 1st! There's no denying that the end-of-the-year rush is on. Today, let's just catch our breath and get back to doing what we love... making things! 

Today's the day to create a good old-fashioned made-by-hand gift. It doesn't have to be something complicated, just something simple showing your recipient that you took some time. Time is precious; showing someone that you took time out of the busy season to make something heartfelt is powerful and will be appreciated.

Create something that comes from YOU. It could be a handwritten card, a little embroidery on a hankie, some cookies made from scratch, a simply sewn pin cushion, an ornament made from found objects, a collage of pretty pictures, a finger-painting made with your child, a handmade notebook of blank pages with a found-paper cover... just take a look at an issue of UPPERCASE and I'm sure an idea will come to mind.

Stay away from DIY posts and Pinterest! These days, it is too easy to get bogged down into the perceived perfection of Pinterest and the tyranny of step-by-step craft instructions. Today's the day to unplug from these distractions. Comparing yourself to others and following directions can be so detrimental to genuine creativity. Use your own ideas, your own resources, your own ingenuity... you will make something that is from you and your heart.

Make something out of nothing. Be experimental. Be silly. Creativity comes from letting yourself go a little bit. If you worry about stitching a straight line, today's the day to zigzag. Just gather up all your creative supplies onto the table and see what emerges.

Enjoy the process. Making things is a lot of fun! Share what you're up to on Twitter and Instagram #makesomethingmonday #uppercasereader. 

A huge thank you to UPPERCASE reader Lisa Courtnage for the beautiful quilt block made of vintage feedsacks. She writes, "I saw your request for feedack fabric on your blog. I found a vendor while at the International Quilt Festival in Houston who was selling charm squares of feedsack fabric (5 inch squares) so I snagged a few packs. I have enclosed 419 one-and-a-half-inch squares. Also made a mini-quilt block with the leftover scraps... that is how quilts were made back in the day!" Once again, I'm amazed and inspired by the generosity and talent of UPPERCASE readers. Thank you, Lisa.

My son was with me at the office when I received Lisa's package of feedsacks. He was instantly enamoured with the quilt block and wanted it for his teddy bear. I have other plans for the block, so I suggested that we make teddy his own special blanket. All my sewing supplies are here in the office so Finley selected a favourite feedsack square from Lisa's packet and we went to work. My mother-in-law had recently downsized her fabric collection and I acquired some of it, so the blue and white fabric was at-the-ready. The train fabric was purchased from a thrift store on a car trip home to Saskatchewan some summers ago. Finley helped by sitting under the table and pushing on the sewing machine pedal or by taking out the pins as needed. Within an hour, we had a cute but wonky tiny blanket and a happy mother and son. We'll both cherish the blanket for the stories of how the fabrics were chosen and the fun we had putting it together. I think teddy liked it, too.

Speaking of quilts, I'm excited to tell you that I'll be one of three judges for next year's QuiltCon! I look forward to spending three days surrounded by beautiful quilt designs.

Have a lovely day making something!