
Make a Fabric Cover for your Typewriter (or sewing machine)
/
So anyone who knows me (or UPPERCASE) knows my fondness for typewriters. I call them the UPPERCASE mascots. So it was natural that I come up with some sort of typewriter and fabric project!
In fact, there's already a connection. If you look at the colours of my Royal Quiet DeLuxes and my fabric collection, they share a similar colour palette.

I decided to make a dust cover for a typewriter. You could quite easily adapt this process to make a cover for your sewing machine.
Please keep in mind that I'm not a DIY blogger or writer of craft instructions (nor do I plan on becoming either—I've got way too much to do already!) When it comes to sewing and making crafts, my usual process is to look at a lot of similar projects and read their instructions. Then I put that all aside, head over to my own project and available materials... and wing it!
Knowing that my fabric projects would be shared online, I took photos along the way. Keep in mind that I was figuring it out as I went along. And when things got complicated I sometimes forgot to take photos since I was concentrating or busy being frustrated.

Here's my rudimentary sketch of what I planned to make. Two sides with interfacing to make them sturdy, and, in a contrasting colour, piping to define the edges.

I selecting my fabric to coordinate with my favourite turquoise Royal. I had already made bias tape for a previous project and decided to use the extra to cover the piping.

I put some kraft paper on my table and loosely traced the typewriter on its side, leaving generous amount of room for the keys and knobs.
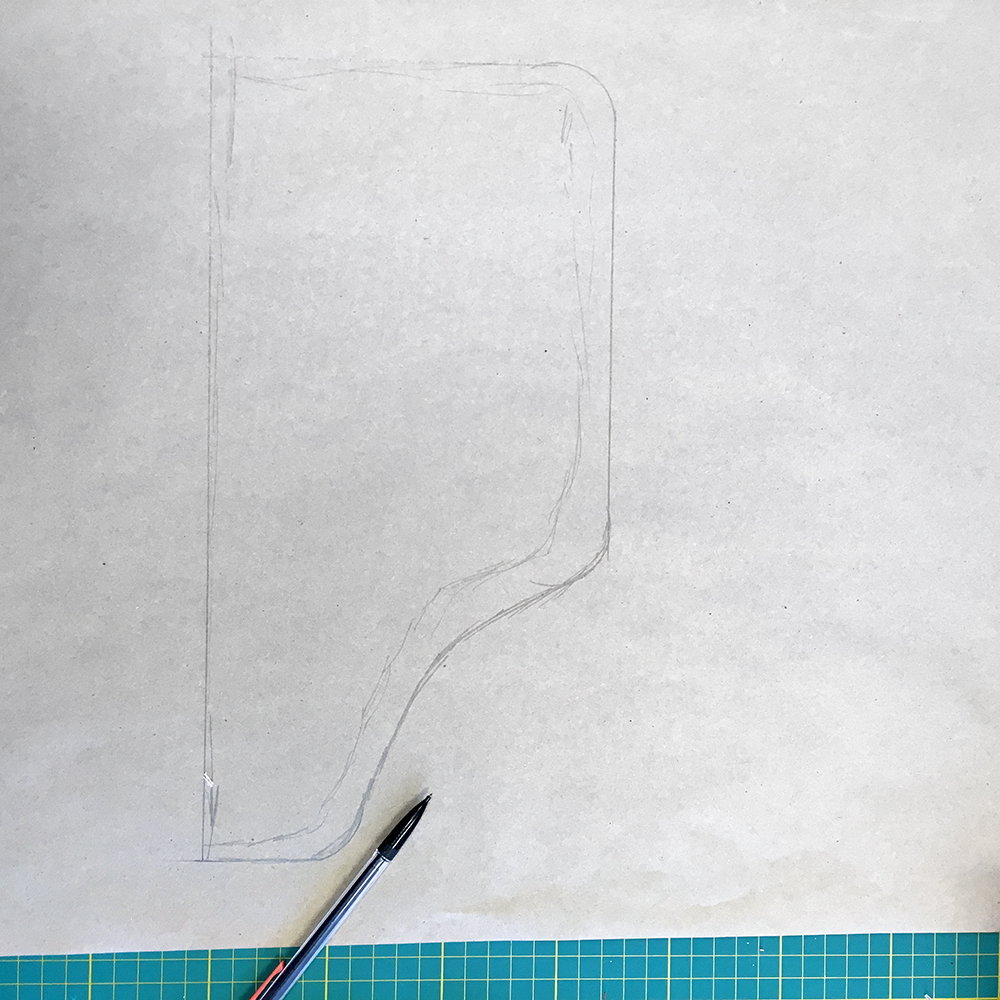
Next, I refined the curves and overall shape and added some extra allowance so that cover wouldn't be too snug.

I cut my template and then two pieces out of fusible, fairly stiff interfacing.
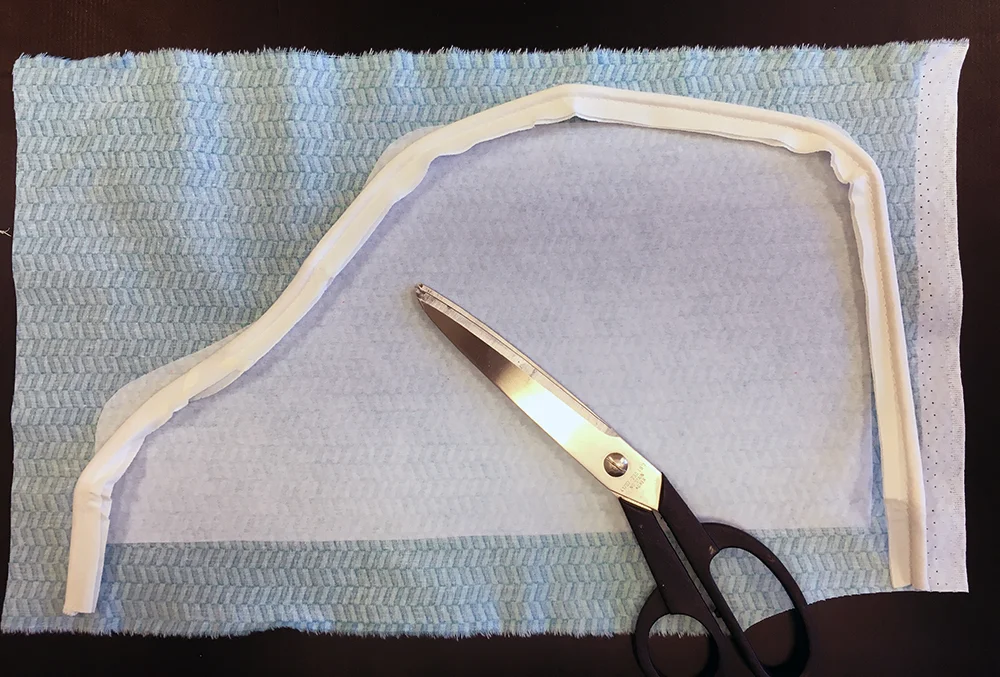
I used the outline to determine the length of piping I'd need. Using a basting stitch, I covered the piping with my bias tape.
I cut the shape out of the fabric half an inch around the interfacing plus an inch or two extra at the base.
I measured the desired width of fabric needed to cover the machine. For its length, I used the piping as a guide for how much would be required. In both cases, I added some generous amounts on either end to allow for hems and just in case. (Remember, I was making this up as I went along!) I also fused more interfacing to the front panel to give it some shape.
Next, I sewed one side, piping and top together. This involved a lot of pinning. I've only used piping once before about ten years ago, so I didn't exactly know what I was doing. The curves were difficult! But I just pinned it as precisely as possible and then sewed it slowly to avoid any puckers. Then did side two. The inside's not pretty, but you don't have to see that when the cover is on the machine! (Besides, I was sewing this for the Windham Look Book, so some selective photography and cropping could solve any glaring problems.)
Once the sides were both attached, I put the cover on the machine and folded up the hem as required and stitched it. With some steaming and ironing, the cover turned out ok. It looked a little plain, so I decided to dress it up a bit. I've had this plastic turquoise buckle for some time, so it seemed of the right era to suit a typewriter cover.

And with the bow... voila!

If I were to make another cover (I've got a dozen typewriters!), I might omit the piping and just make a fabric flange or something a little simpler—but I do like that contrasting pop of colour!
The top two photos and finished project photos are by Kirstie Tweed of Orange Girl for the UPPERCASE collection Look Book. Process photos taken with my iPhone.